As an Amazon Associate, I earn from qualifying purchases
Are you tired of looking at that unsightly dent in your hydro flask? Well, you’re in luck because, in this blog post, I will be sharing some tips and tricks on how to undent your hydro flask. Whether it’s from dropping it or accidentally sitting on it, dents can be a real eyesore, but with the proper methods, you can have your hydro flask looking as good as new in no time. So, if you’re ready to say goodbye to that pesky dent, keep reading to learn how to restore your hydro flask to its former glory.
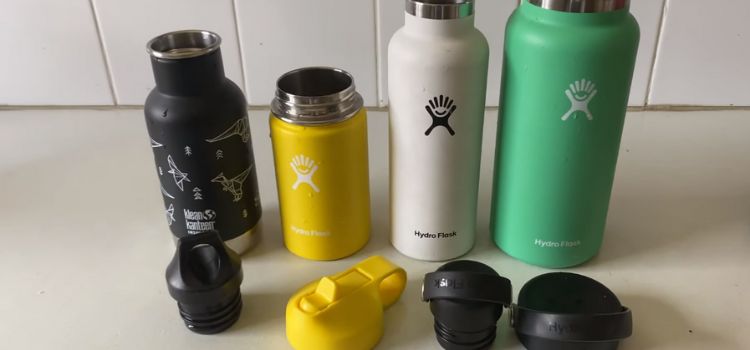
how to undent a hydro flask
Have you ever accidentally dented your beloved water bottle and wished there was an easy way to fix it? I will be sharing 7 easy steps to undent your hydro flask. Dents can be frustrating and unsightly, but you can restore your hydro flask to its original shape with the proper methods.
Step 1: Fill the dented area.
Remove the lid and ensure the dented area is clean and free from debris or dirt.
Boil water and carefully pour it into the dented area of the hydro flask. Make sure to pour enough water to fill the dented area.
Let the hot water sit in the dented area for a few minutes to allow the metal to expand and pop the dent out.
After a few minutes, pour the hot water out of the hydro flask and carefully push the dent out from the inside using a blunt object, such as a wooden spoon or rubber mallet.
If the dent does not fully come out, you can fill the dented area with hot water and then push the dent out until you achieve the desired result.
Once the dent is removed, wash the hydro flask thoroughly to remove any remaining hot water and debris, and your hydro flask should look as good as new!
Step 2: Place the hydro flask.
Ensure your hydro flask is empty and clean before placing it in the freezer.
Remove the lid and any accessories from the hydro flask.
Place the hydro flask upright in the freezer, ensuring it is stable and won’t tip over.
Leave the hydro flask in the freezer for a few hours, allowing the metal to contract and pop the dent out.
After a few hours, carefully remove the hydro flask from the freezer and let it thaw for a few minutes.
Gently massage the dented area with your fingers to help the metal pop back into place.
Once the dent is popped out, wash and dry the hydro flask before using it again.
Step 3: Use a plunger.
First, ensure the plunger is clean and free of debris or grime.
Fill the sink or tub with enough water to cover the bottom of the plunger.
Place the plunger over the drain or opening, making sure it creates a tight seal.
Push down on the plunger with firm and even pressure, then pull up quickly to create suction.
Repeat this plunging motion several times, maintaining a solid seal with the plunger.
If the clog doesn’t clear after several attempts, add dish soap or hot water to help lubricate the pipes and break up the blockage.
Once the clog clears, run hot water down the drain to flush out any remaining debris.
Following these steps, you can use a plunger to unclog drains and keep your plumbing running smoothly.
Step 4: Use a hairdryer.
Start by cleaning the area around the dent on your hydro flask to remove any dirt or debris that may be present.
Use a hairdryer on its highest setting to heat the dented area of the hydro flask for 2-3 minutes.
Make sure to keep the hairdryer moving to avoid overheating any one spot.
After heating the area, quickly grab a can of compressed air and turn it upside down.
Spray the compressed air directly onto the dented area.
The rapid cooling should cause the metal to contract and pop the dent out.
If the dent doesn’t fully pop out, repeat the process of heating the area with the hairdryer and then using the compressed air until the dent is completely gone.
Once the dent is removed, use a cloth or towel to wipe down the area and remove any excess moisture from the compressed air.
Your hydro flask should now be dent-free and ready to use! Remember to be careful when using the hairdryer and compressed air, and always follow the manufacturer’s guidelines for your specific hydro flask model.
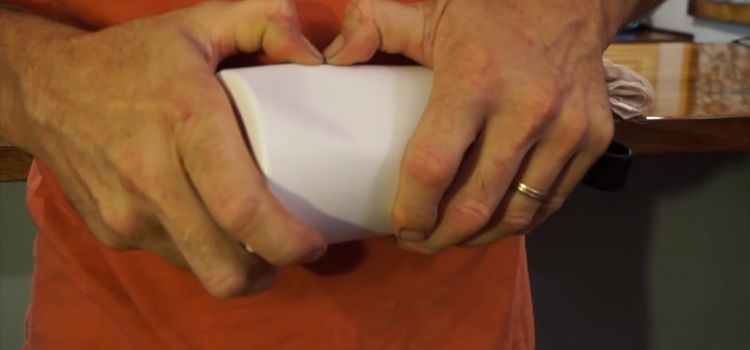
Step 5: Use a rubber mallet.
Identify the dent on your hydro flask and ensure it is clean and dry.
Place a towel or cloth over the dent to protect the surface of your hydro flask.
Use a rubber mallet to gently tap the dent from the inside out, working in a circular motion.
Continue tapping the dent until it begins to pop back into place.
Check the progress and continue tapping until the dent is entirely removed.
Once the dent is gone, remove the towel and check for any remaining imperfections.
If necessary, gently tap the area with the rubber mallet to smooth out any remaining dents. Once you are satisfied with the results, give your hydro flask an excellent cleaning; it will be as good as new!
Step 6: Use a dent removal kit.
Start by cleaning the surface of the dent with soap and water to remove any debris or dirt.
Use the dent removal kit according to the instructions provided.
It may involve using a suction cup, heat gun, or other tools to pull or push the dent out from the inside carefully.
Apply gentle pressure and gradually work on the dent until it pops back into place.
Be patient and take your time to avoid causing any damage to the hydro flask.
If the dent is still visible after using the dent removal kit, consider using a plunger or rubber mallet to smooth the surface further.
Once the dent is removed, clean the area to ensure it is free from residue or marks. Finally, admire your handiwork and enjoy your dent-free hydro flask!
Step 7: Use professional services.
Take the time to research and read reviews about different professional service providers in your area.
Look for companies with a good reputation and positive customer feedback.
Before hiring a professional service, assess your needs and what specific services you require.
It will help you narrow your options and find a provider that meets your requirements.
Ask friends, family, or colleagues for recommendations on professional service providers they have used and had a positive experience with Word of mouth can be a valuable source of information when choosing a service provider.
Contact multiple professional service providers and request quotes for the services you need.
Compare prices and the scope of services offered to find the best value for your money.
Ensure the professional service provider you choose has the credentials and licenses to operate in their field.
Knowing that you are working with a qualified and legitimate company will give you peace of mind.
Before committing to a professional service, carefully read through the terms and conditions of the contract.
Pay attention to any hidden fees, cancellation policies, or warranties the provider offers.
Communicate your expectations and requirements to the professional service provider.
It will help ensure that they understand your needs and can deliver the service you seek.
After using a professional service, follow up with the provider to provide feedback on the service provided.
These can help them improve their services and benefit other potential customers by assisting them in making informed decisions.
Hydro Flask offers a warranty against dents.
Do you hate seeing those dents in your hydro flask? No need to worry because Hydro Flask offers a warranty against dents! Rest assured that your investment is protected and that any dents or damages will be handled. With this warranty, you can enjoy using your hydro flask without worrying about the dents’ appearance. So go ahead and make the most of your hydro flask without any hesitation, knowing that you have the support of a reliable warranty.
How can I prevent my hydro flask from getting dented?
You can take a few simple steps to prevent your hydro flask from getting dented. First, always be mindful of where you place your hydro flask and avoid dropping it on hard surfaces. Consider wrapping your hydro flask in a protective sleeve or using a silicone bumper to provide an extra layer of protection.
Also, be careful not to overfill your hydro flask, as the added pressure from the liquid could cause it to dent if it’s dropped or mishandled. By taking these precautions, you can help keep your hydro flask pristine and dent-free for years. Don’t let a dent ruin the look of your hydro flask – take proactive steps to protect it and keep it looking great.
Conclusion:
In conclusion, if you want to undent a hydro flask, it’s essential to assess the damage and choose the best repair method carefully. Whether using hot water, dry ice, or seeking professional help, prioritize the safety and integrity of your hydro flask. Taking the time to address the issue adequately will help ensure the longevity and effectiveness of your hydro flask, ultimately saving you time and money in the long run.
So, don’t hesitate to take the necessary steps to undent your hydro flask and keep it in top condition for all your hydration needs.
As an Amazon Associate, I earn from qualifying purchases
Leave a Reply